IoT Sim Portal documentation
In the IoT Sim Portal, users can manage their sim cards and other users.
Login
A user can log in with his registered email address and password.
User Roles:
Depending on the role, the user can perform different actions in the portal:
| role | description |
|---|---|
| Company User | The Company User is the default user within the Company Account and has the following permissions:
|
| Company Admin | The Company Admin has all rights of the Company User
|
| Company Owner | The first user of a new Company Account is automatically assigned the role of Company Owner. Within a company there needs to be at least one Company Owner The Company Owner creates the Company data and has full rights within the Company Account.
|
Users can only be deleted by a user with the roles Company Admin or Company Owner. In case you are the last user or the last Company Admin / Owner within your company, contact Support Request on the Account & Support page to delete your account.
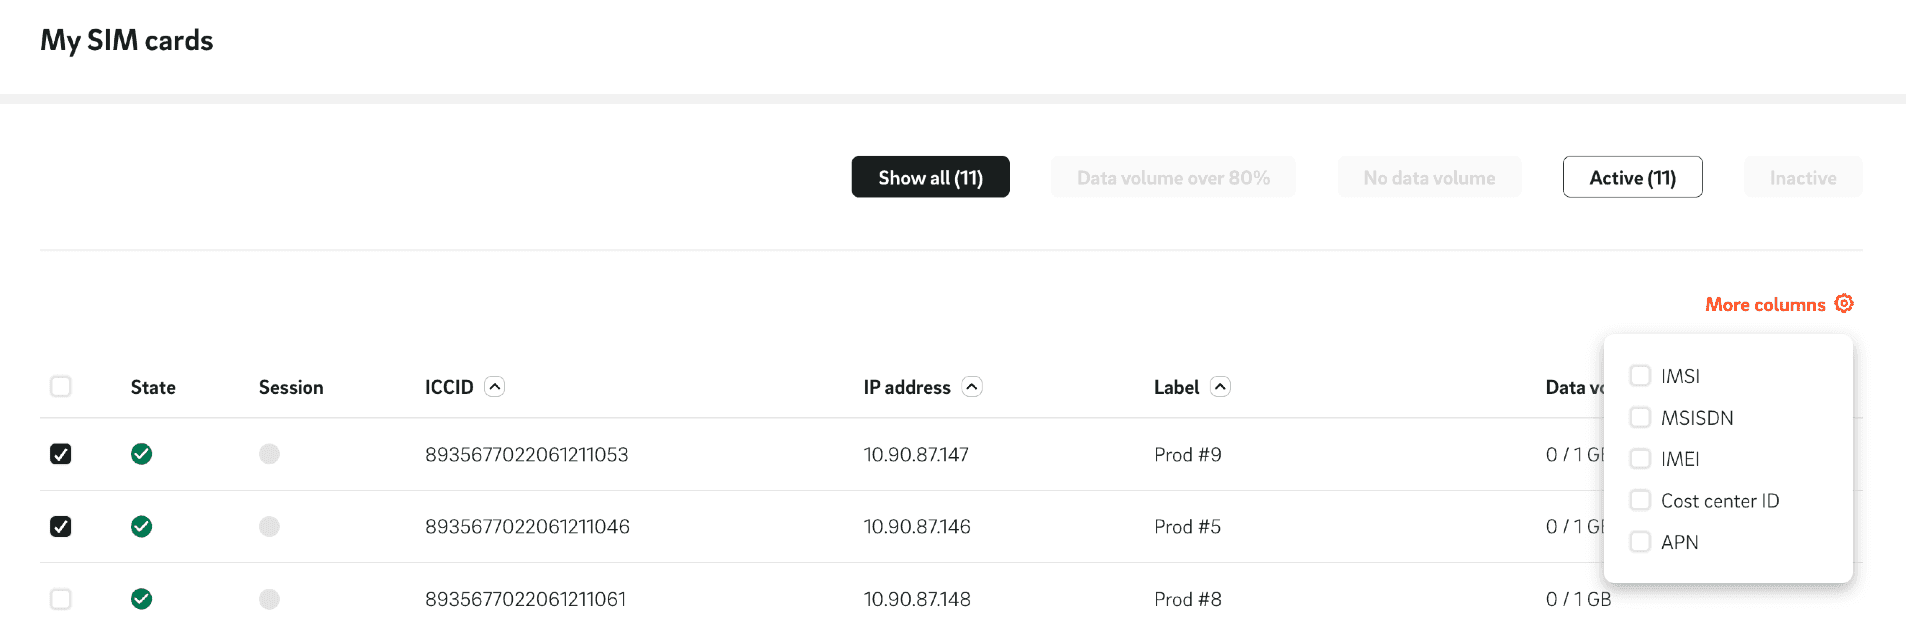
Sim cards overview
The page lists all sim cards assigned to the Company Account, and allows to configure them.
The sim card overview can be customized by using the filters or the search field.

For each card, the parameters Status, Session Status, ICCID, Label, and Data Volume are displayed as default.
The "More Columns" setting can be used to configure the view. More columns can be added or removed via the checkboxes. The current selection will be stored in the browser.
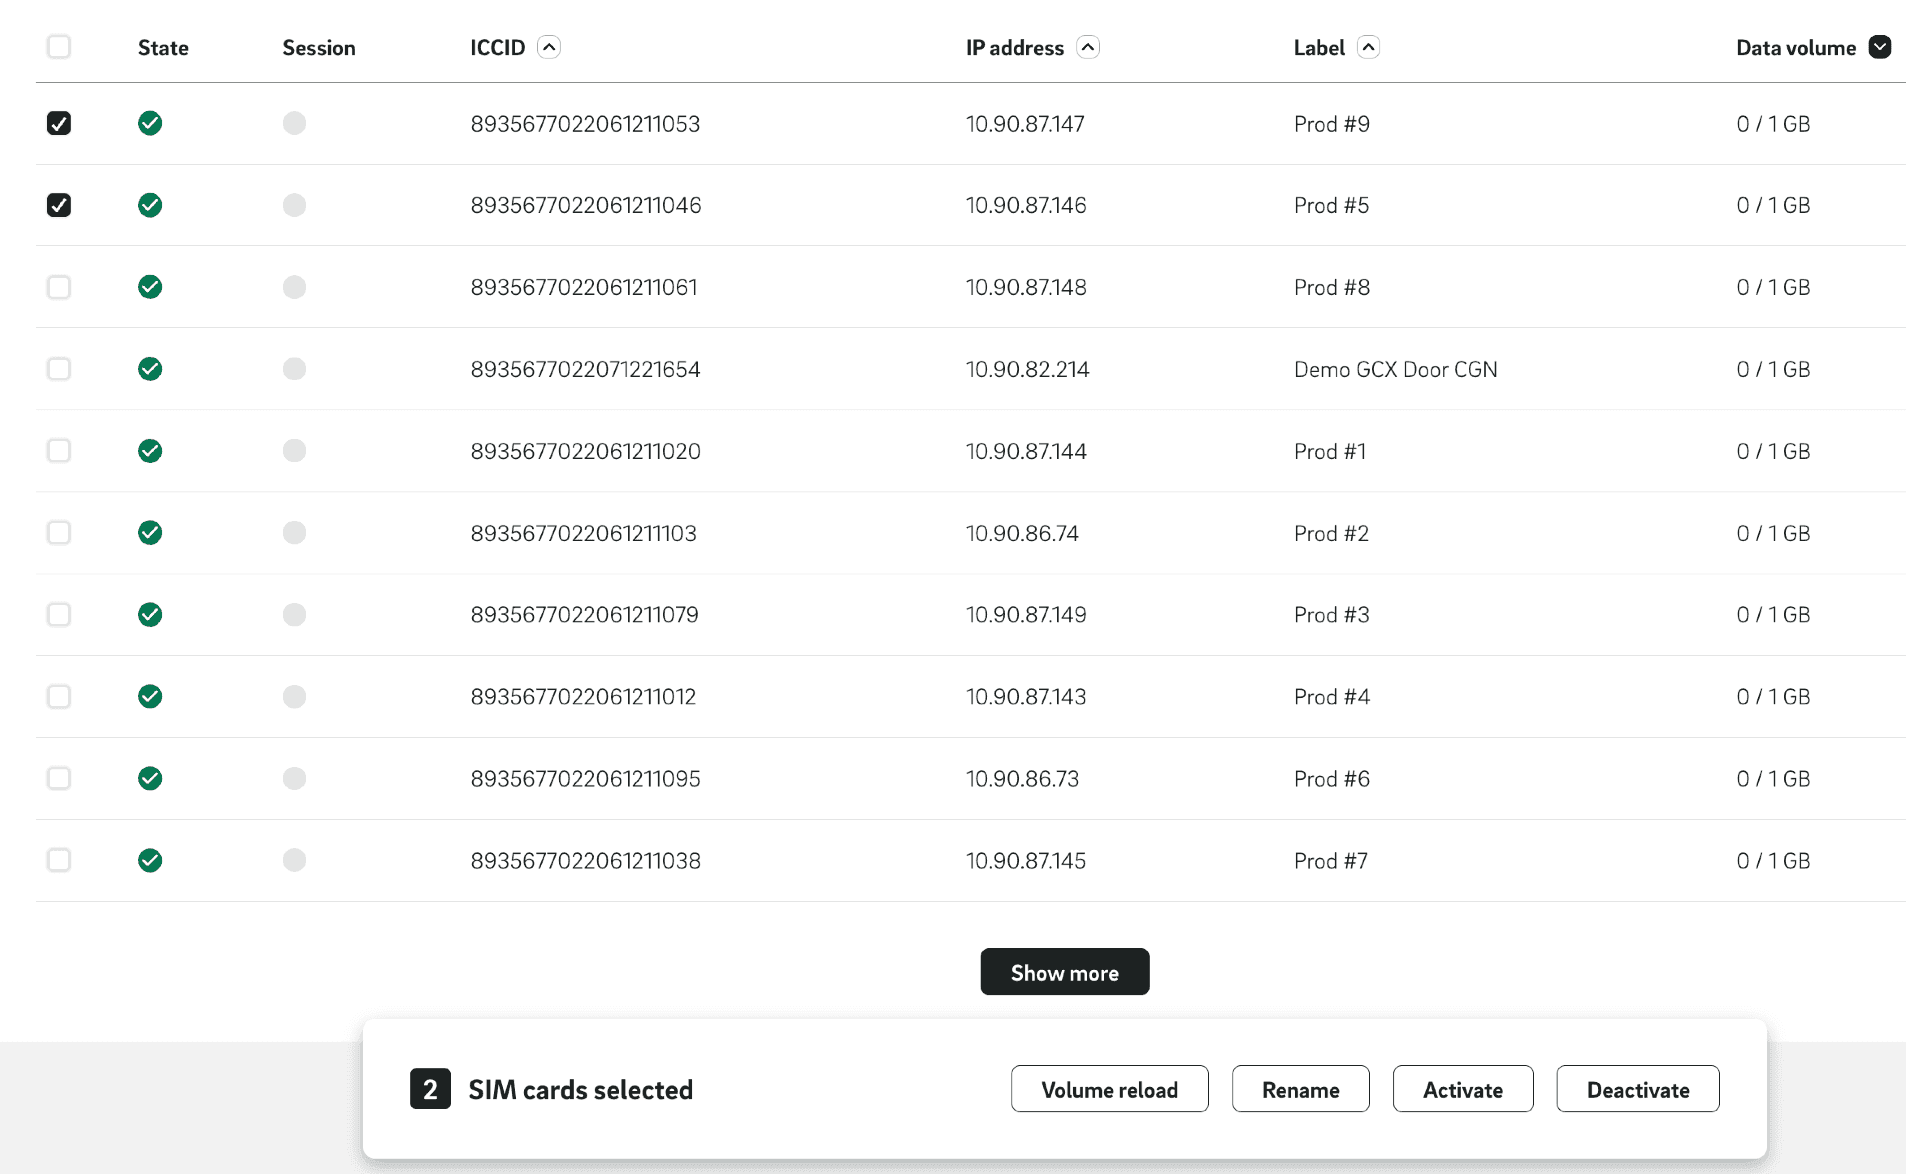
The view of the sim cards can also be sorted by the columns in ascending or descending order. The column used for sorting is marked by an icon, which shows the current direction. Active sorting is highlighted by black icon background.
There are different filters to filter the sim cards according to certain criteria. Via the filter "Active" or "Inactive" the cards are filtered according to their status so that only active or only inactive cards are displayed.
Via the filter "Show all" all cards can be displayed again.
The "No Data Volume" filter can be used to display all cards whose data volume has been used up. The "Data Volume over 80%" filter can be used to filter all cards that have a remaining data volume over 80%.
Each filter shows the number of sim cards that match the filter criterion.
Using the search box and dropdown, the user can search for a specific SIM or specific values in the ICCID, IP Address, Label, MSISDN, etc. columns. Only one column can be selected for the search. The search works in combination with the selected filters.
It should be noted that if there are a large number of SIM cards, there may be several pages in the list view. More cards can be loaded using the Show More button.
Sim card parameters
There are the following parameters per sim card:
| parameter | description |
|---|---|
| ICCID | Unique serial number of the respective SIM card. |
| IP address | Static IP address of the respective SIM card. |
| Label | Description text that can be assigned by the user. |
| IMSI | Unique identification of network users |
| MSISDN | Mobile Station International Subscriber Directory Number |
| IMEI | Identifier of the device in which the SIM card is inserted. |
| Cost Center ID | internal accounting departments |
| APN | Access Point Name (iotsim.melita.io) |
| Type | Type of the SIM card, can be 2/3/4F or MFF2 |
Status of a SIM card:
Each card has a status:
| status | description |
| active | An active card can be deactivated via the "Deactivate SIM card" button so that the consumption of further data volume is paused. |
| inactive / paused | If the sim card has the status inactive (paused) because it was deactivated by the user, it can be reactivated via the "Activate SIM card" button. |
| pending | An state change will be performed, this can take some time. In case of an failure the former status will be restored. |
| no data volume left | The card has no data volume left. The SIM card be reloaded on SIM details or selection via multiselect |
| card expired | The card will not be displayed in the overview after 18 months. |
Sim card management:
Single or multiple cards can be selected using the checkboxes on the left side of the list. By selecting one or more SIM cards, the user can perform various actions, such as (de)activating SIM cards, editing or manually charging the cards.
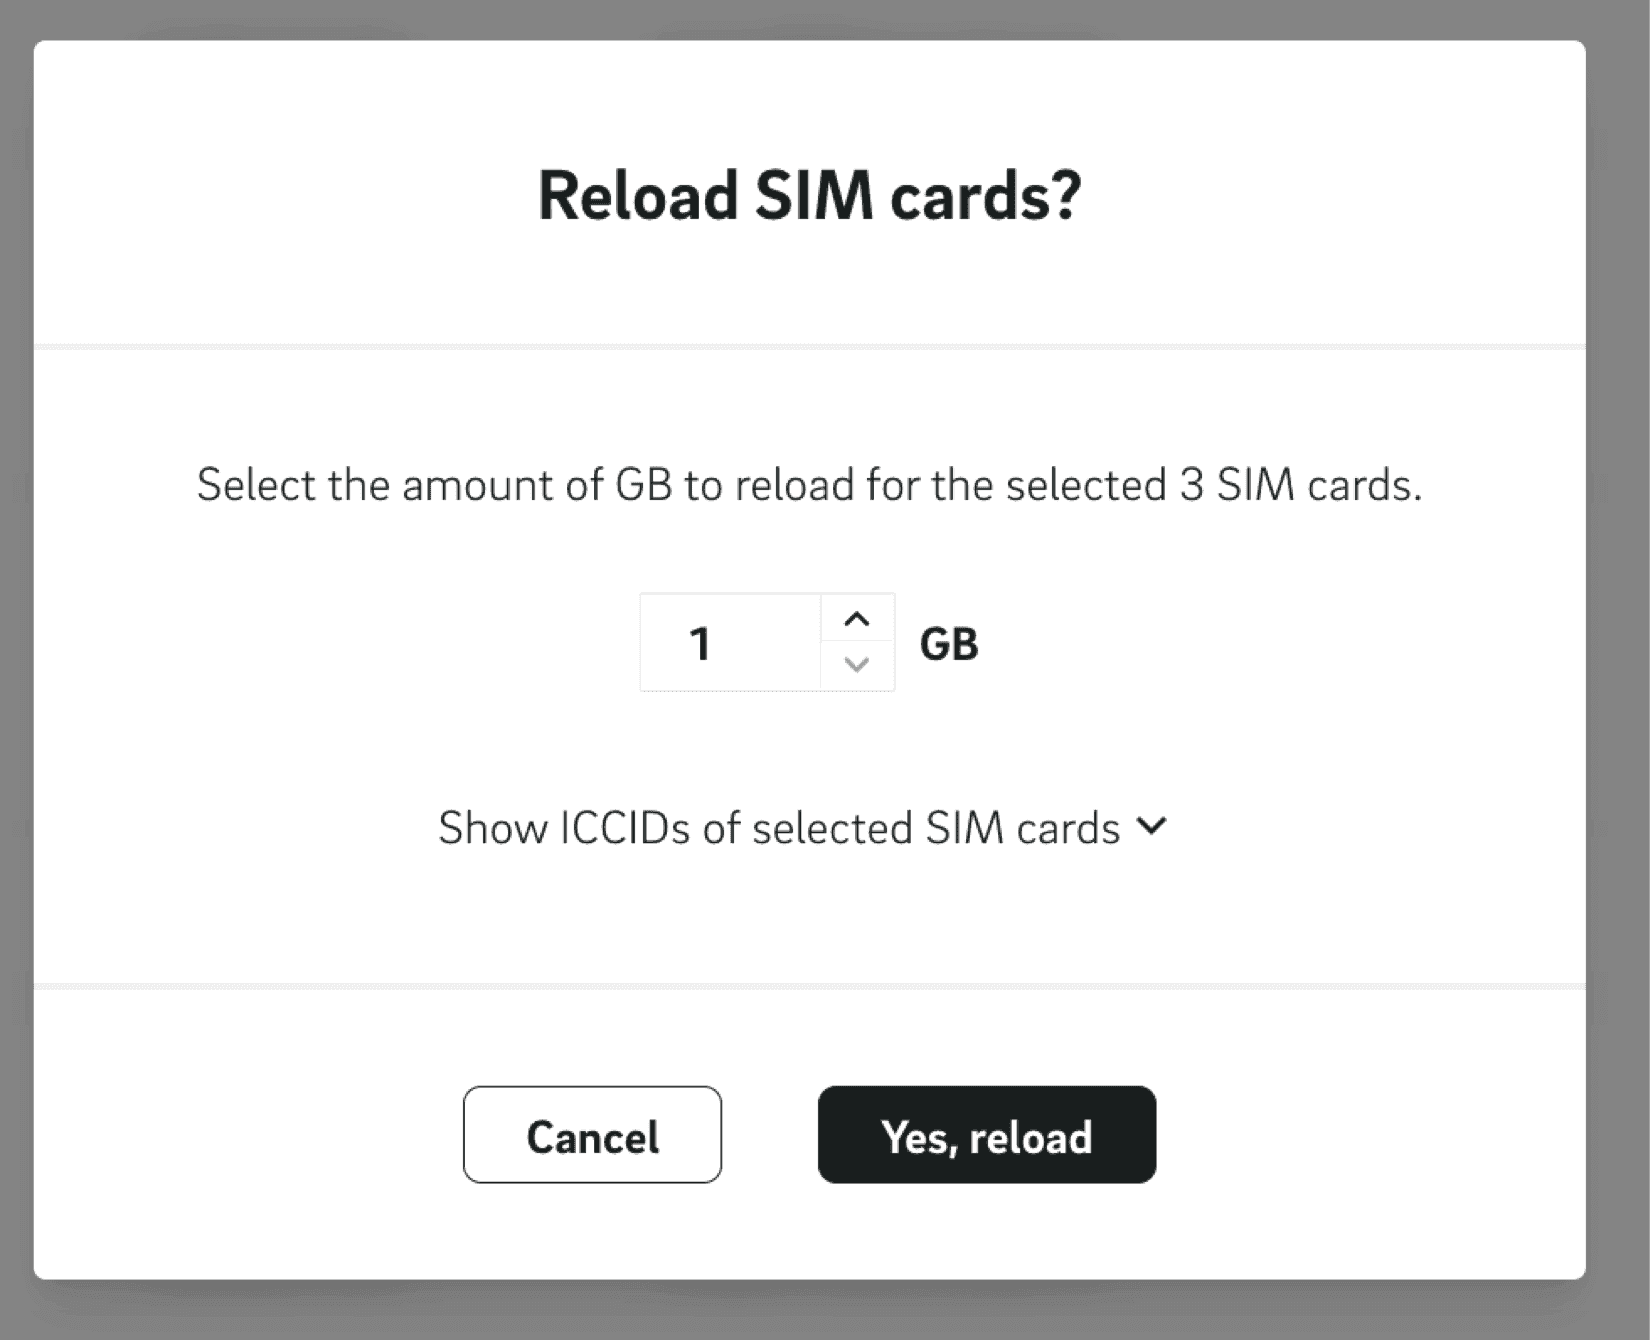
The "Volume Reload" button can be used to select a data volume for the selected cards, with which the cards are topped up in each case. The number of GB can be set via the number input. At least 1GB must be selected. More information about the selected sim cards can be displayed for further details. The booked volume is available as soon as the payment is received?
For a reload, the billing details must be entered first. Payment is possible by bank transfer, credit card or direct debit. On bank transfer the invoice will be sent to the users email address. On credit card or direct debit the user will be redirected to the IoT SIM shop to perform the payment by our payment provider named Unzer.
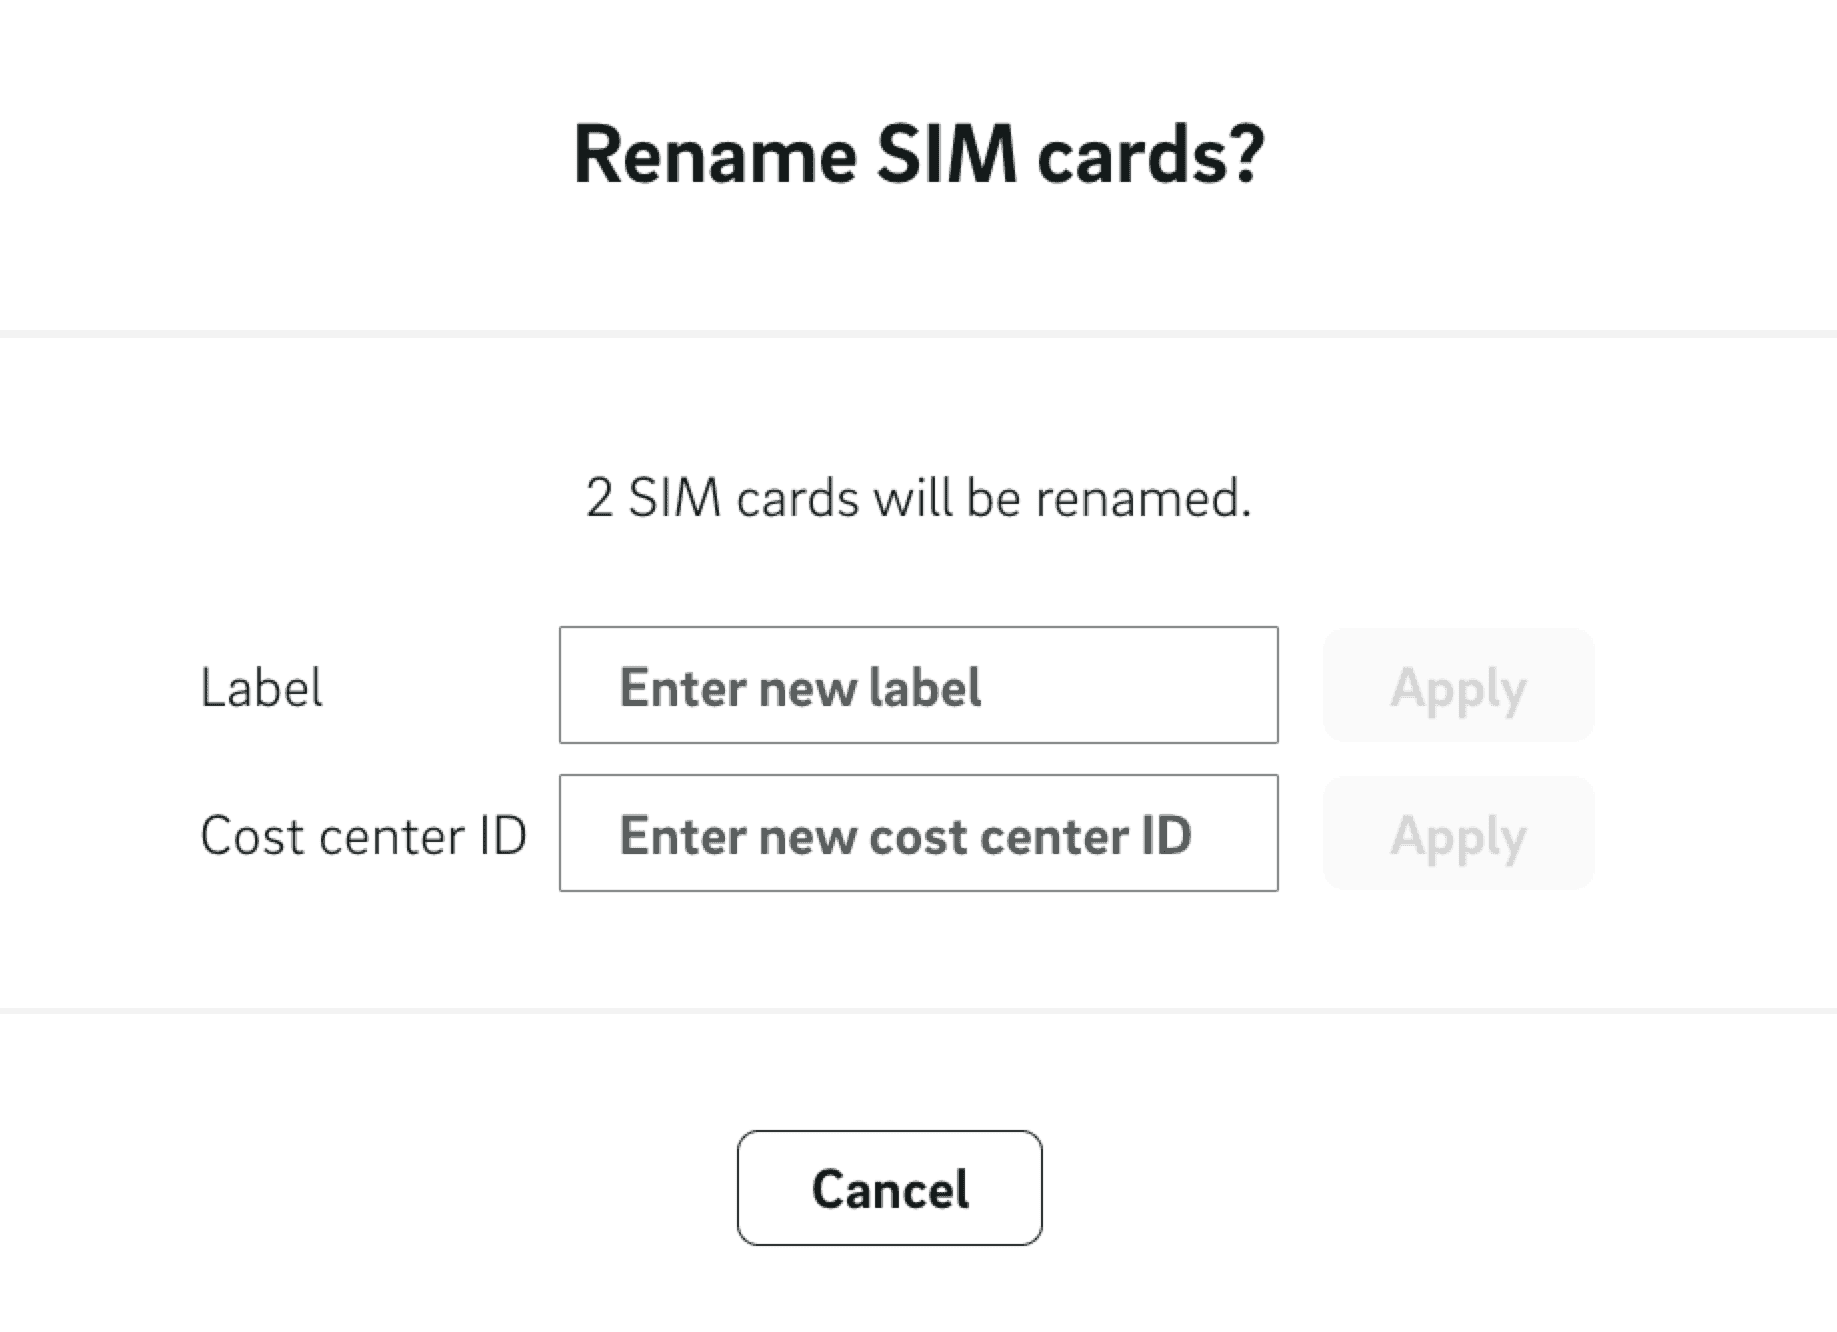
Multiple sim cards can also be reloaded together via multiple selections. For example, a common label can be assigned or a cost center ID can be assigned or edited. Via the "Apply" button the two fields can be edited and saved independently.
If multiple sim cards are selected, they can be activated or deactivated together. Deactivating will disconnect all active selected cards from the network after the pending state is over. After reactivating the SIM cards, they can connect to the network again after the pending state is over.
Please note: If there are cards deactivated by the system in the selection, they cannot be reactivated. Information about it will be displayed.
Sim cards detail view:
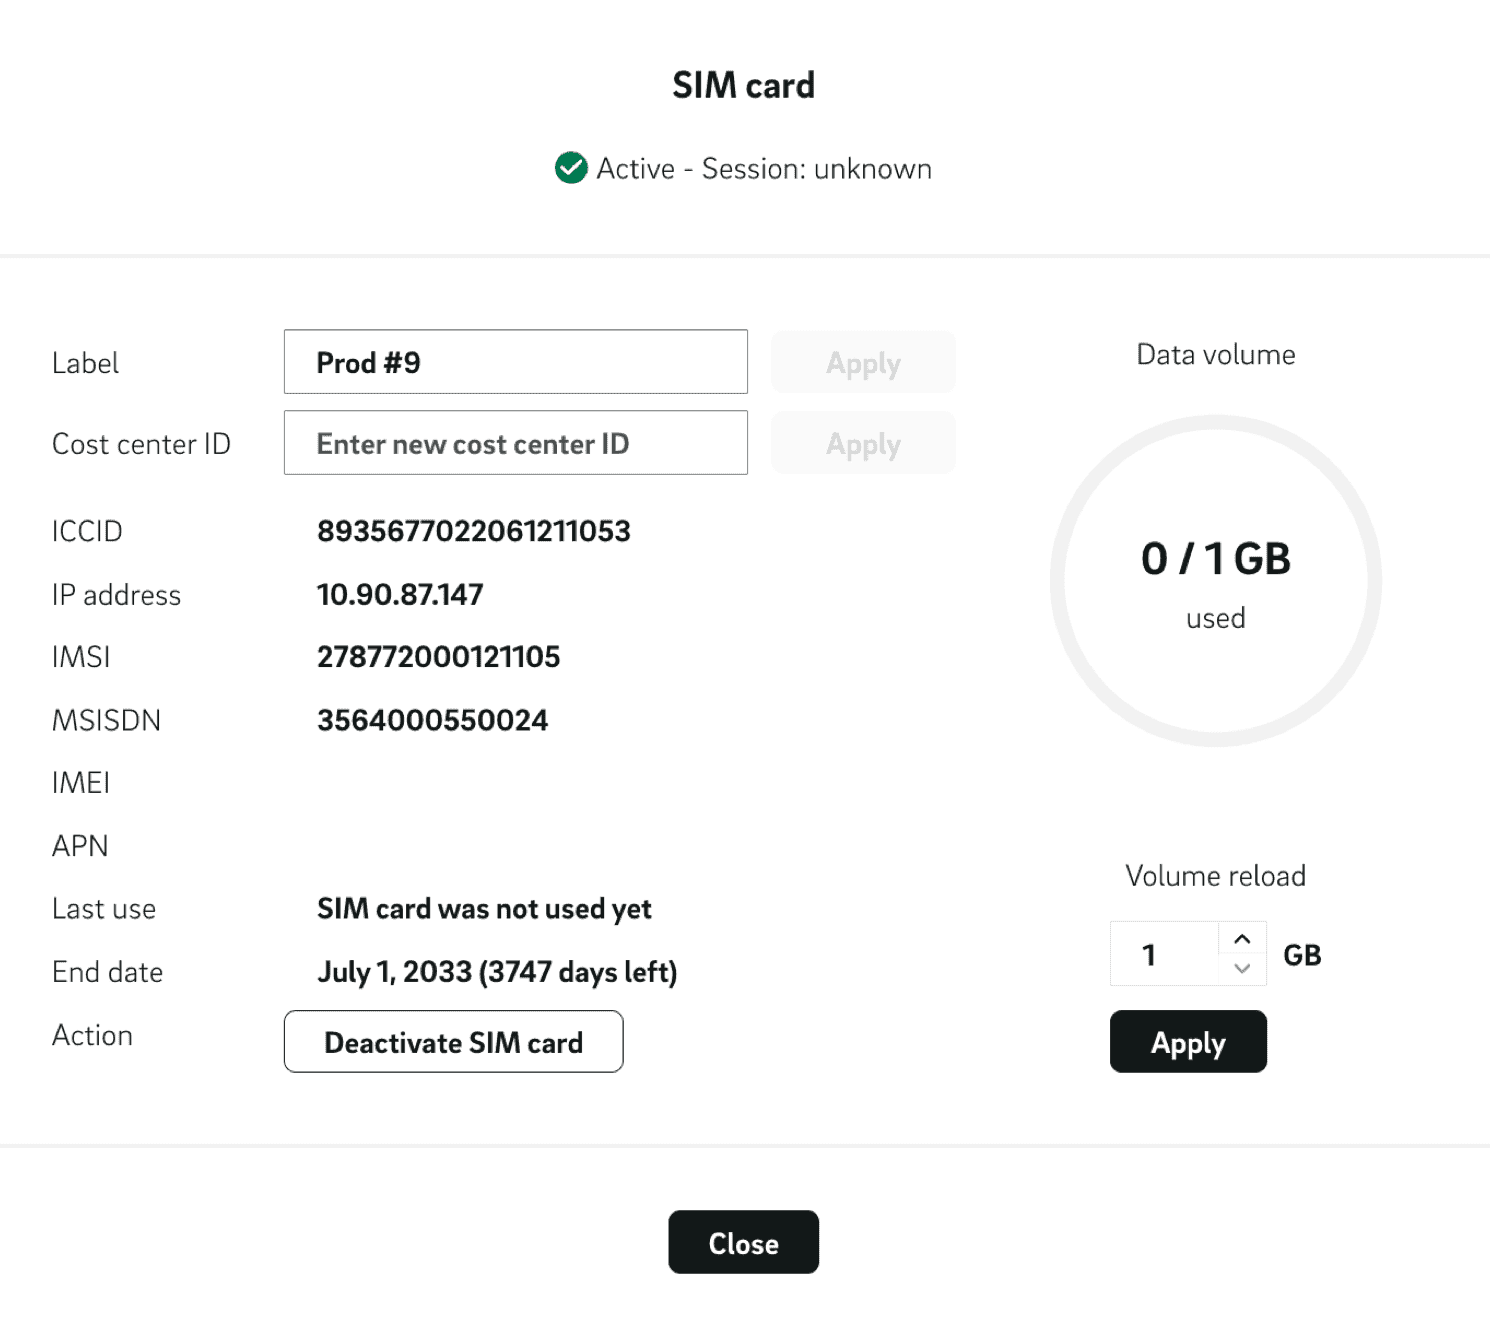
By clicking on one of the sim cards in the list, a detailed view of the sim card parameters and configuration is displayed. In the upper area, the status and session status of the card is displayed.
In the left area of the detail page, the parameters of the sim card are displayed. The "Label" field can be used to assign or edit a label for a sim card. This can help to sort the sim cards. In the field "Cost Center ID", a cost center ID can be entered or changed. The entries are each saved independently via the "Apply" button.
Further parameters of the sim card are displayed (ICCID, IP address, IMSI, MSISDN, IMEI, APN). Also, data about the card usage time is displayed. Under "Last use / Last CDR" you can see when the card was last used and under End Date, you can see the end date of the contract and the remaining time until this end date.
The card can be activated or deactivated via the "Deactivate SIM Card" or "Activate SIM card" button.
The right side of the detailed view shows how much data volume the card has already used. In addition, the volume of the sim card can be increased by 1 GB steps.
User management
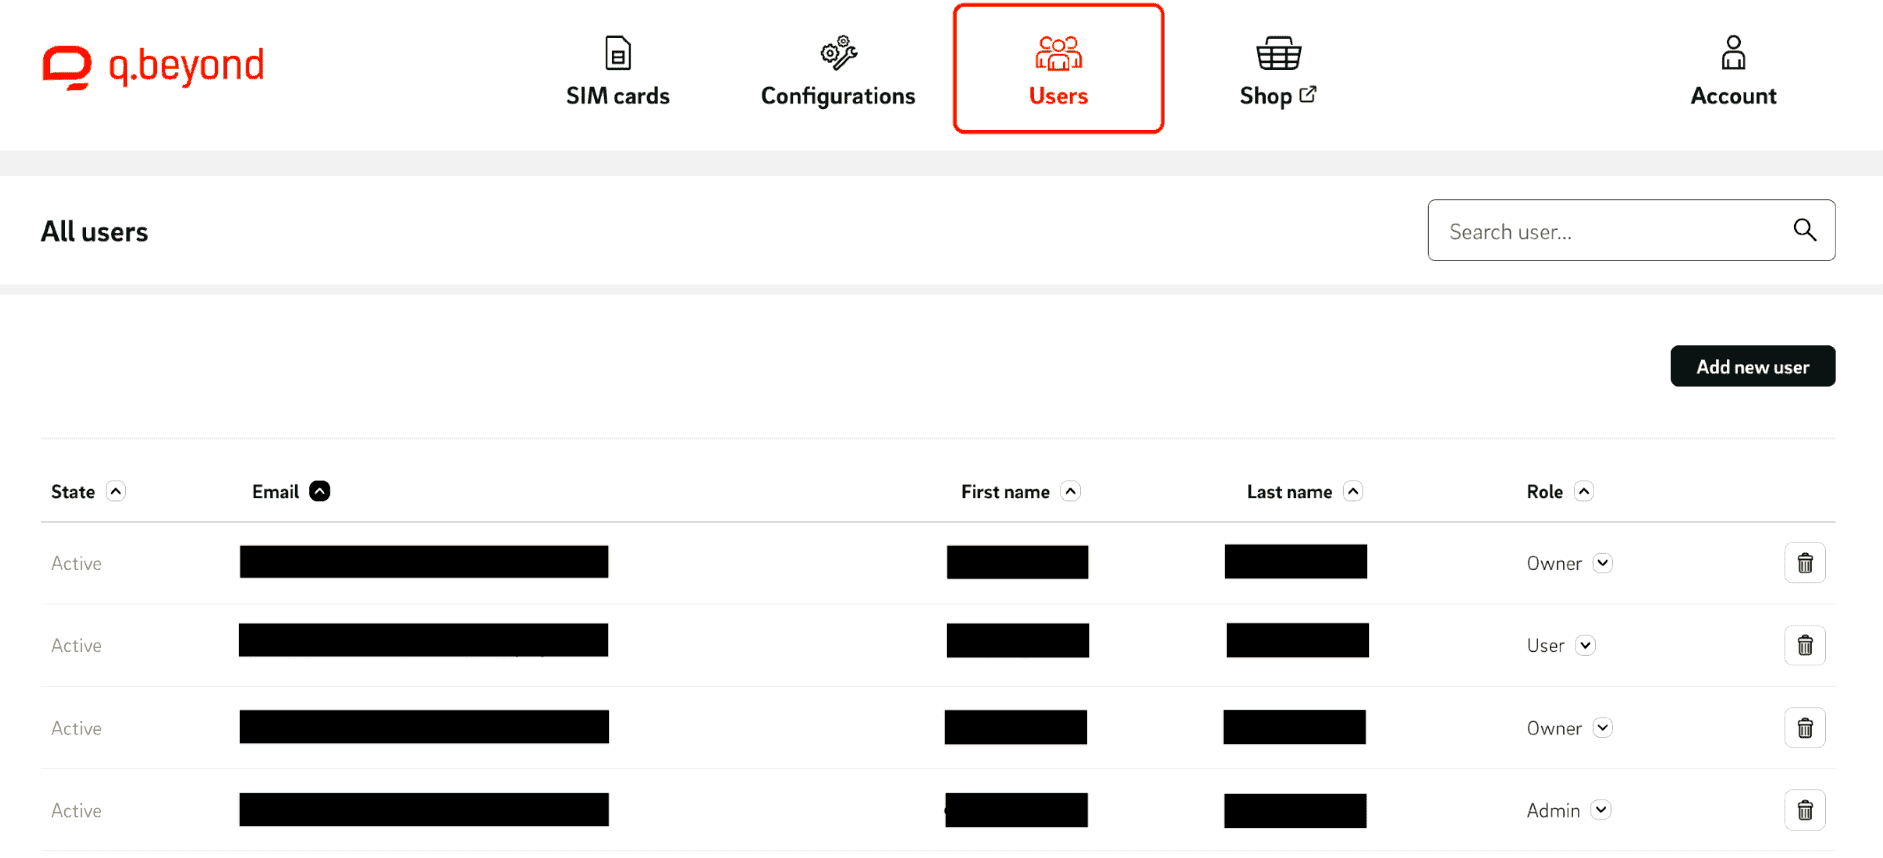
The portal allows creating several user accounts with different user roles, enabling various actions. On the tab "Users" the current users of an account are provided in list form. For each user, the status of the user, email address, first and last name, and the assigned role of the user are displayed in the columns. The list display can be sorted by click on the columns header.
User status
| role | description |
|---|---|
| active | Activated user account |
| invitation sent | Inactive user account. An invitation has been sent, but the user has not activated the account yet |
Management user
The search field can be used to search for the names or email addresses of users.
A user can be deleted by clicking on the trash can icon to the right of the user on the overview page. This will be displayed to the logged-in user only with the appropriate permissions. The action must be confirmed by clicking the "Delete User" button.
A Company Owner cannot be deleted if he is the only Company Owner in the Company Account.

Using the dropdown to the right of a user's role, the assigned role can be edited. The current role of the user is marked by an icon. Only those roles can be assigned for which the logged-in user has authorization (see User Roles).
Create user
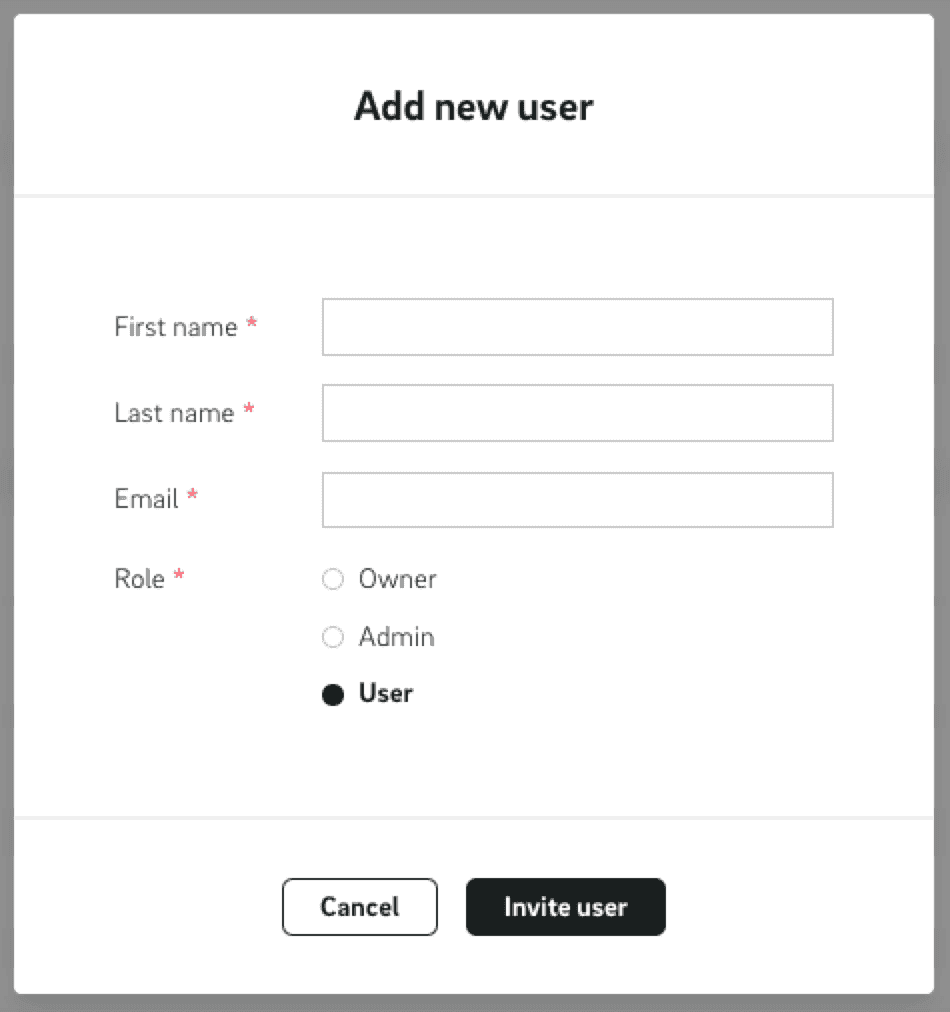
An authorized account can create new user accounts for the company account using the "Add new User" button (see User Roles).
In addition to the first and last name, an email address must be entered. The email address will be used to confirm the account. The customer must make sure that the entered email address is valid and can receive messages. Additionally, a role is selected. By default, the Company User role is selected.
After creating a new user, an email is sent to the new email address with a request to activate the account.
The user has to verify the account by clicking the "Activate Account" button in the email, which will redirect the user to the password setting page to set a new initial password for the portal. The email also includes a direct link to the portal that can be copied. The activation links in the email automatically expire after 30 days.
Resend Invitation
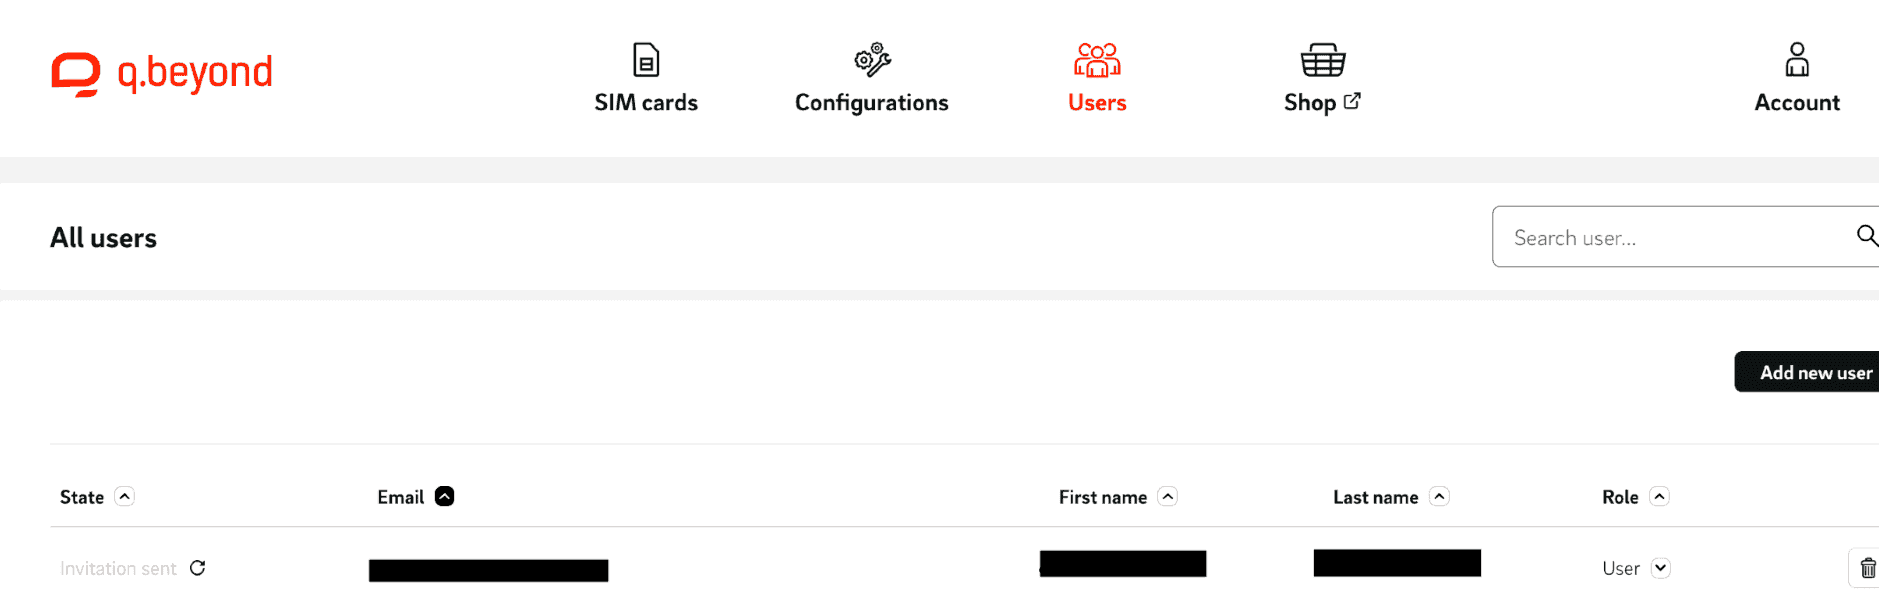
If an activation email needs to be resent, the action can be triggered again by clicking the button next to the "Invitation Sent" status.
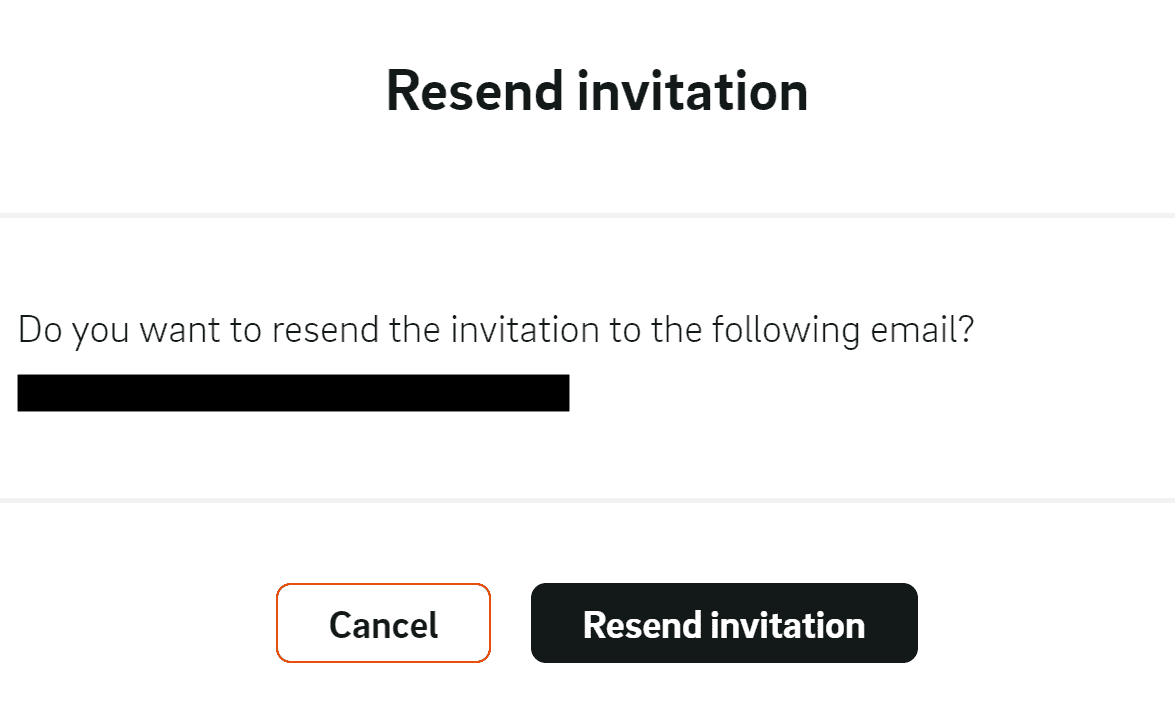
Use the "Resend Invitation" button to resend the email.
Account Information
On the "Account" tab the user can view and edit his personal and company data and log out from the system.
Account Information
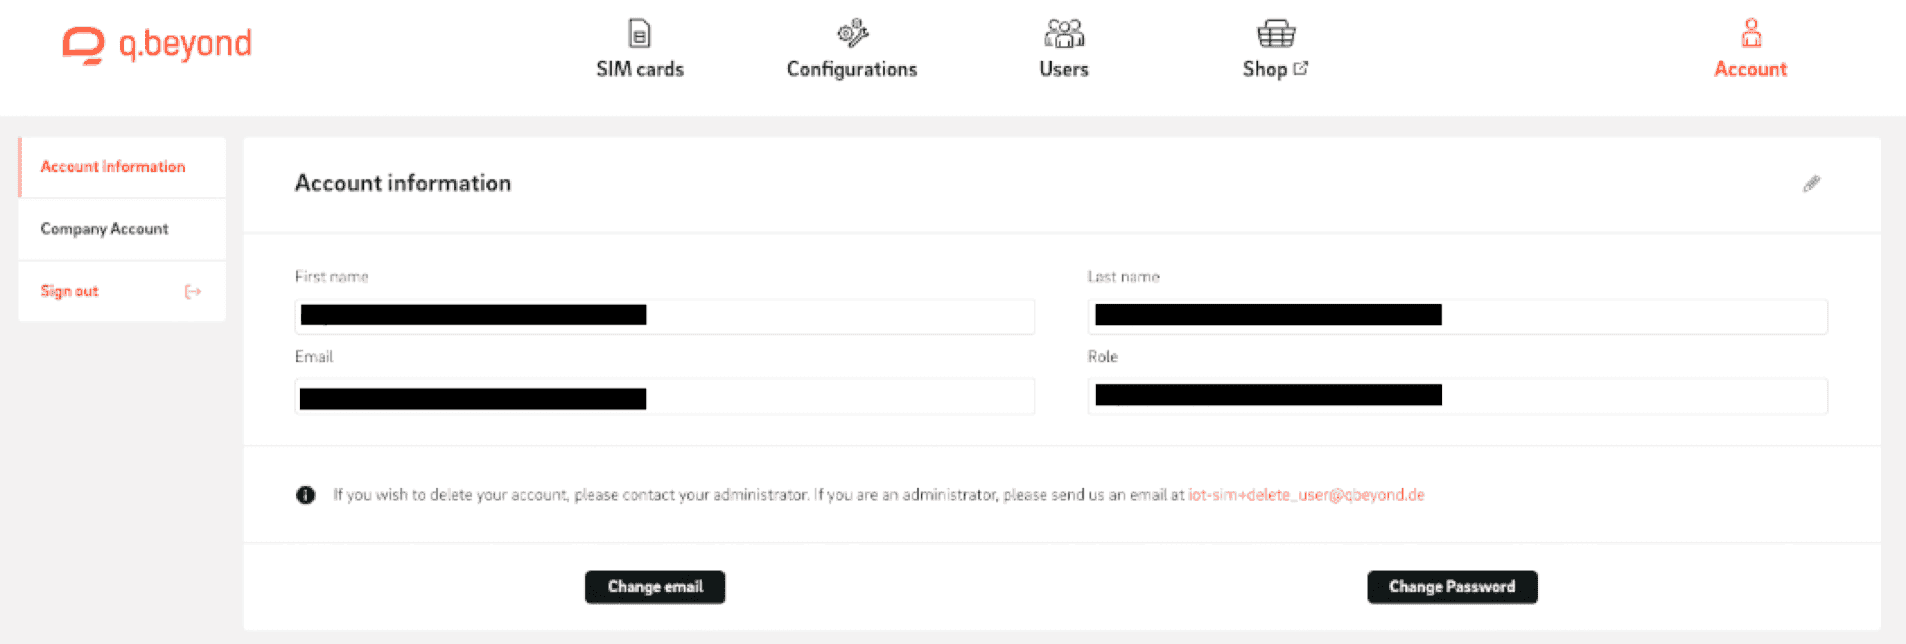
In the "Account information" submenu, the user's data is maintained.
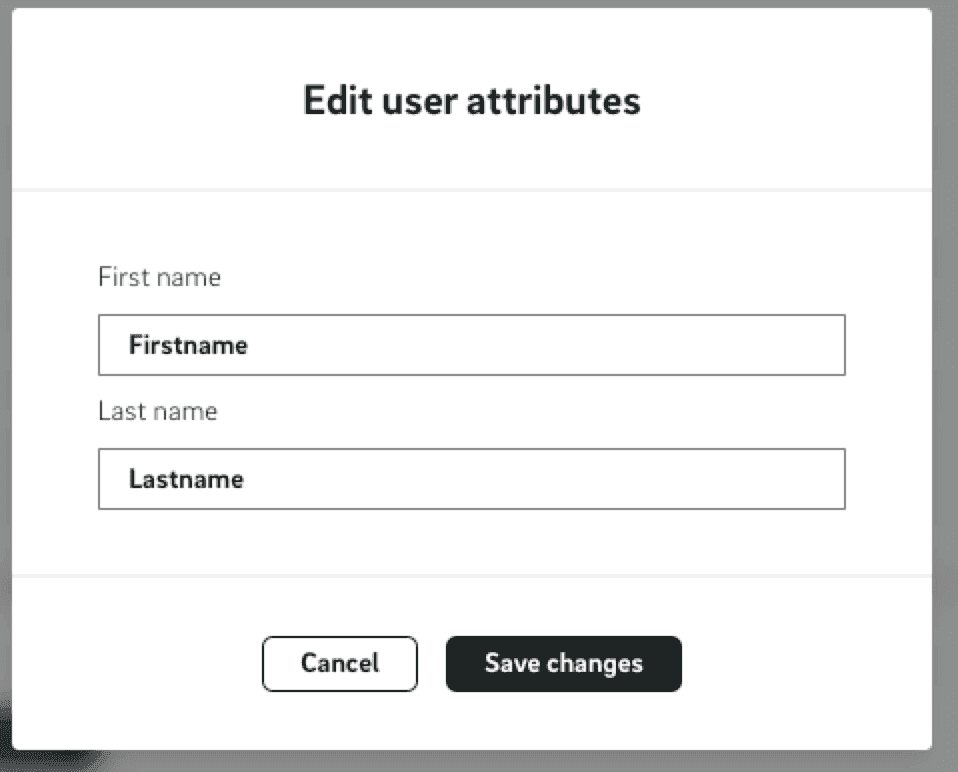
The pencil icon in the upper right corner can be used to switch to the edit mode. A popup opens where the first name and last name can be changed. By clicking on the "Save Changes" button, the entries are saved.
With the button "Change Email" in the submenu "Account information" the email address can be changed. A popup opens where a new email address can be entered. With the button "Send" a new verification code will be sent to the new email address.

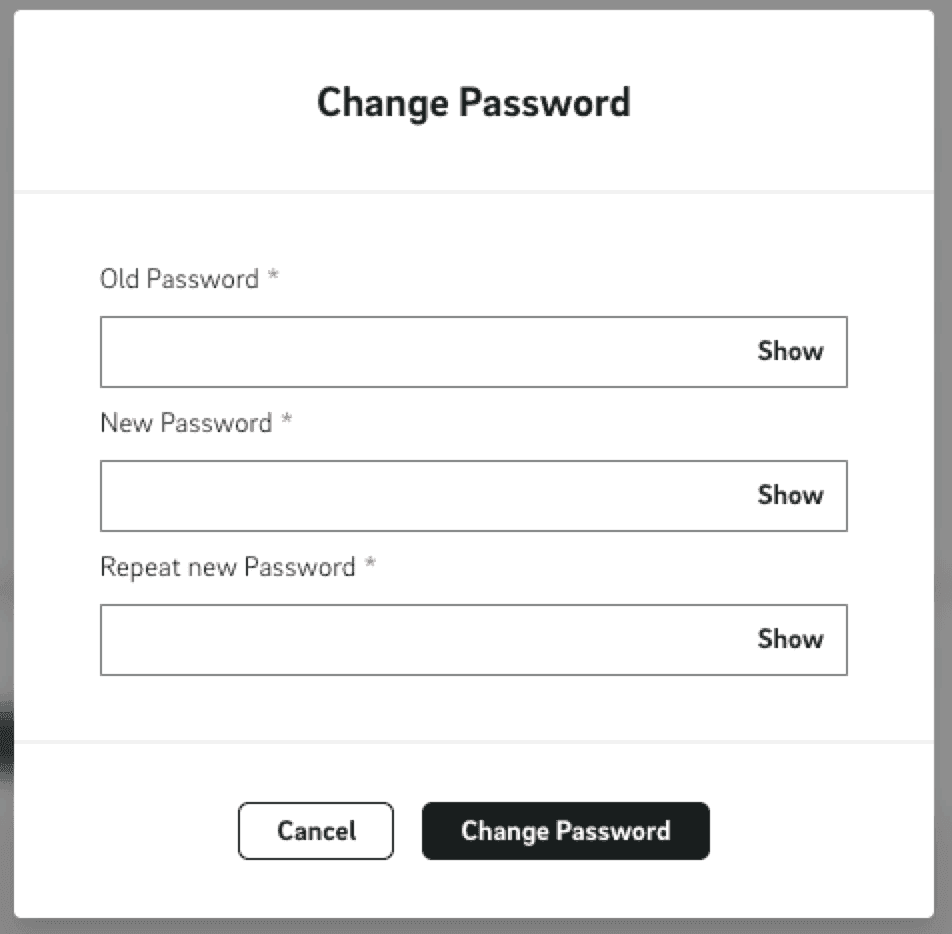
Via the button "Change Password" in the submenu "Account information" the user can change his password. To do this, the old password must be entered and a new password must be assigned. This must be confirmed by a second input. By clicking on the "Change Password" button the new password will be saved.
Company Account
In the submenu "Company Account" the data of the company account can be maintained.
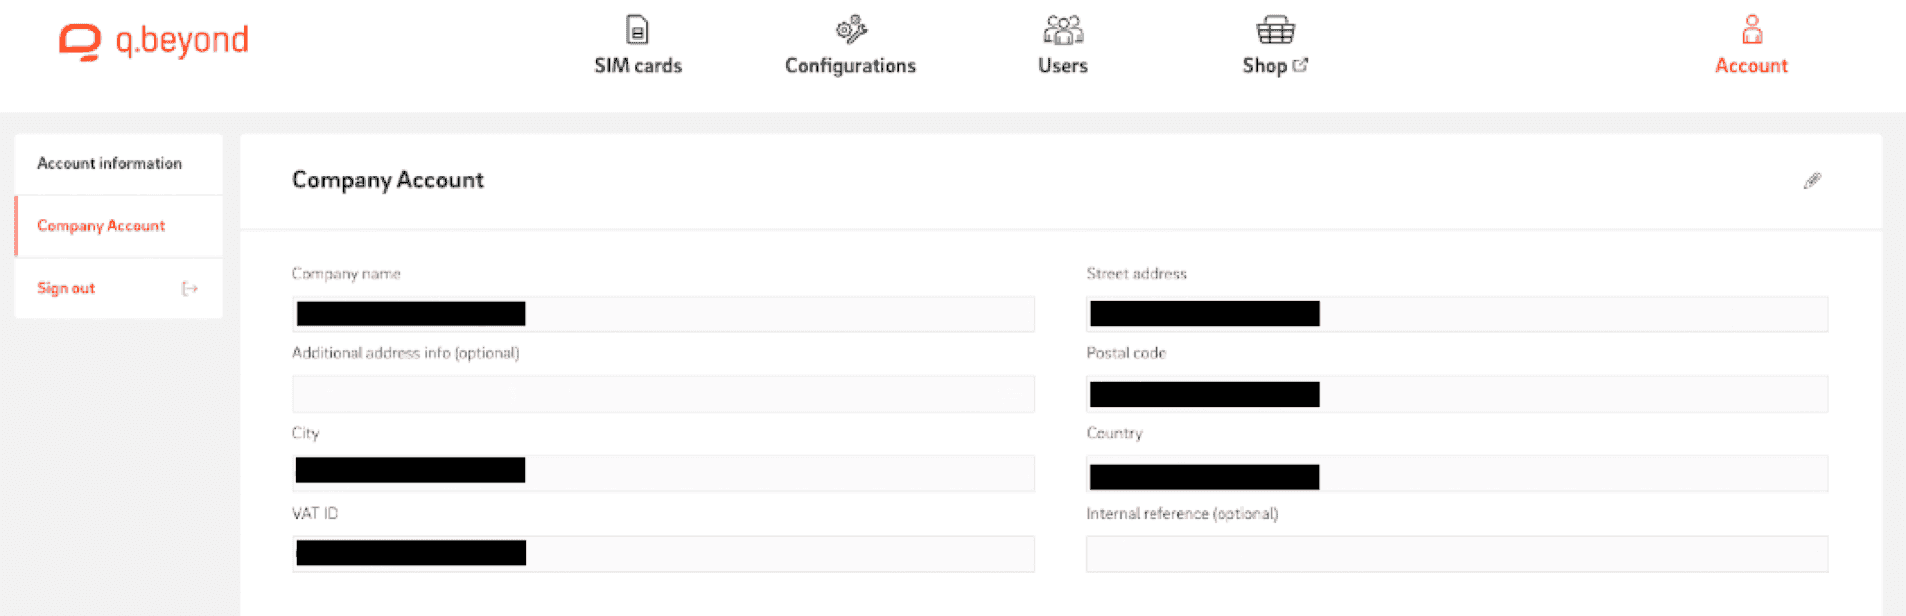
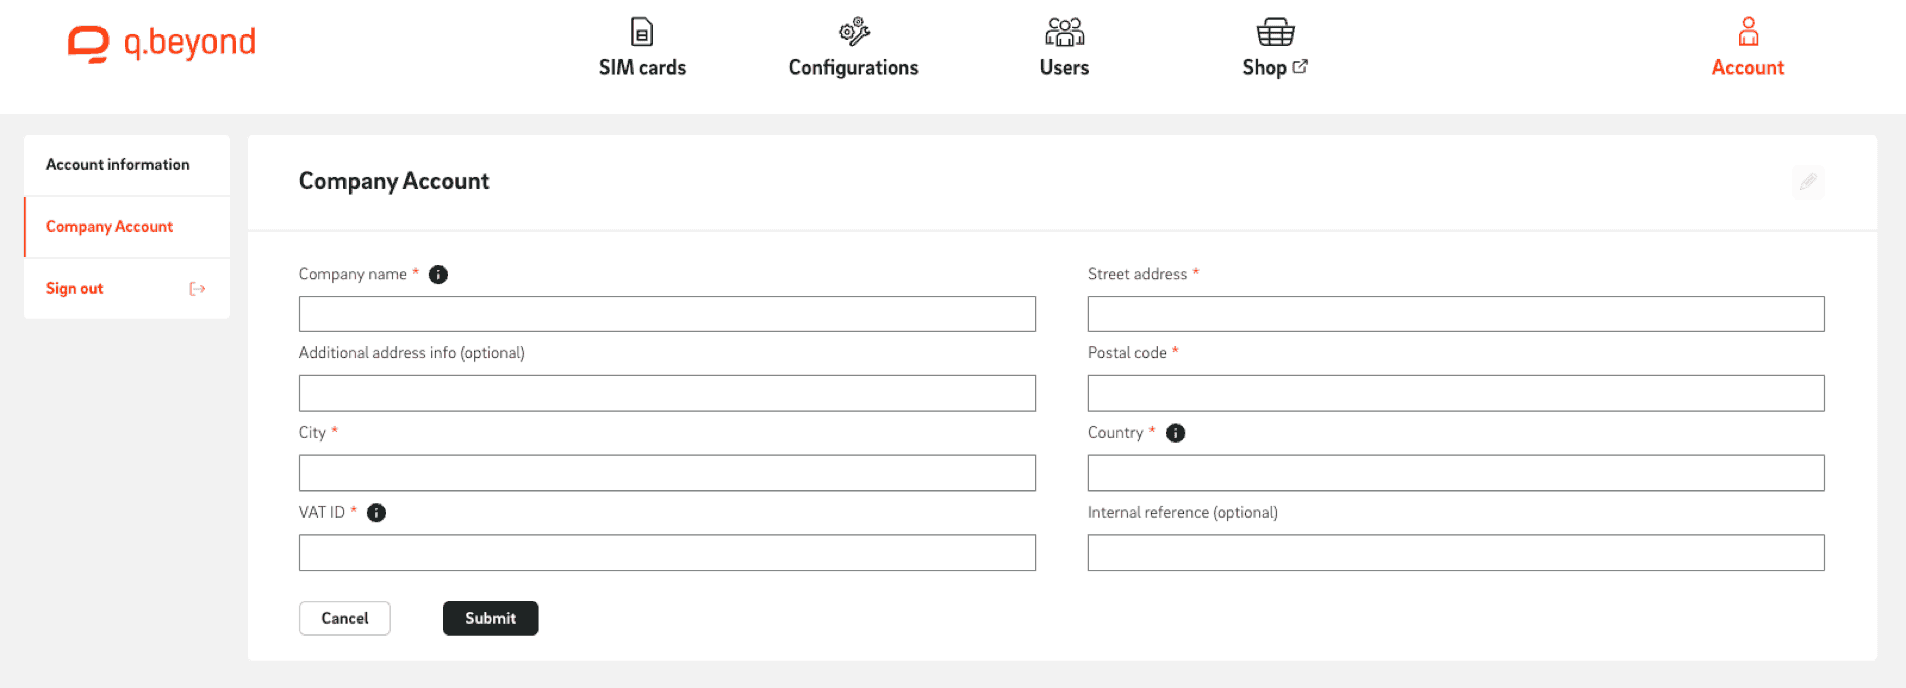
By clicking on the pencil symbol in the upper right corner, you can switch to the edit mode, which allows you to edit the fields. For the fields marked with the "i" icon, can't be changed by the user as also displayed by hover over the icon. In case these values needs to be changed please raise a Support Request. The "Submit" button can be used to save the entries.
Fields marked with an asterisk are mandatory fields and must be filled in before saving or must not be empty.
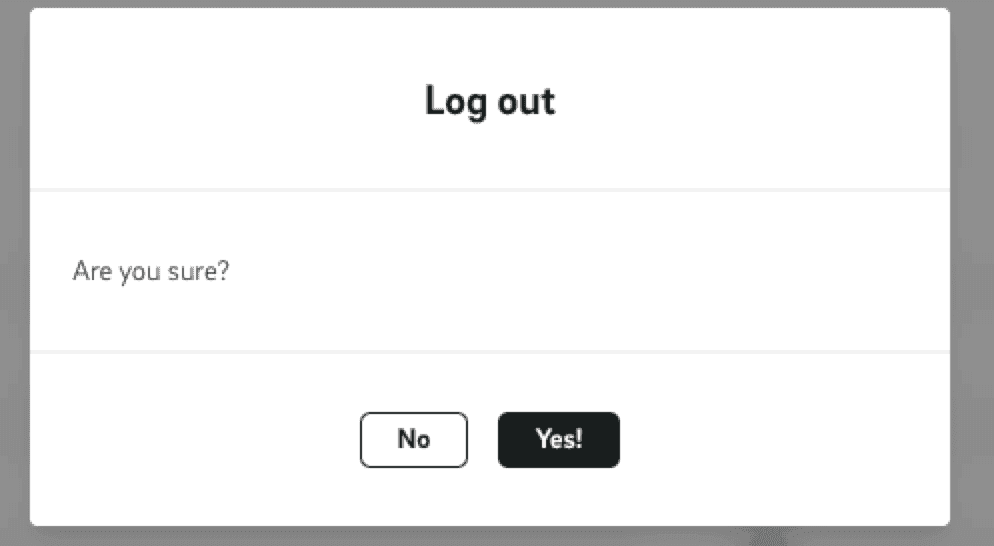
Logout
The user can log out via the "Sign Out" submenu. By clicking the "Yes" button, the user confirms the process and is logged out.
Activate the new sim card
A user can scan the QR code after receiving the sim cards, which will open a page with details about the scanned sim cards. By clicking the "Go to Portal" button, the user is redirected to the portal page. There the user can log in with his account.
Then a temporary page will be shown which will tell the user: 'SIM activation in progress'. After the activation process completed, the SIM cards are assigned to the company account and ready to use.